Gaming
- Baldur's Gate 3 - Party Limit Begone Mod Guide
- How to Turn off Mouse Acceleration - Marvel Rivals Guide
Baldur's Gate 3 - Party Limit Begone Mod Guide
| Baldur's Gate 3 - Party Limit Begone Mod Guide |
|
|
Step 1: Download the files to the right first! |
|
|
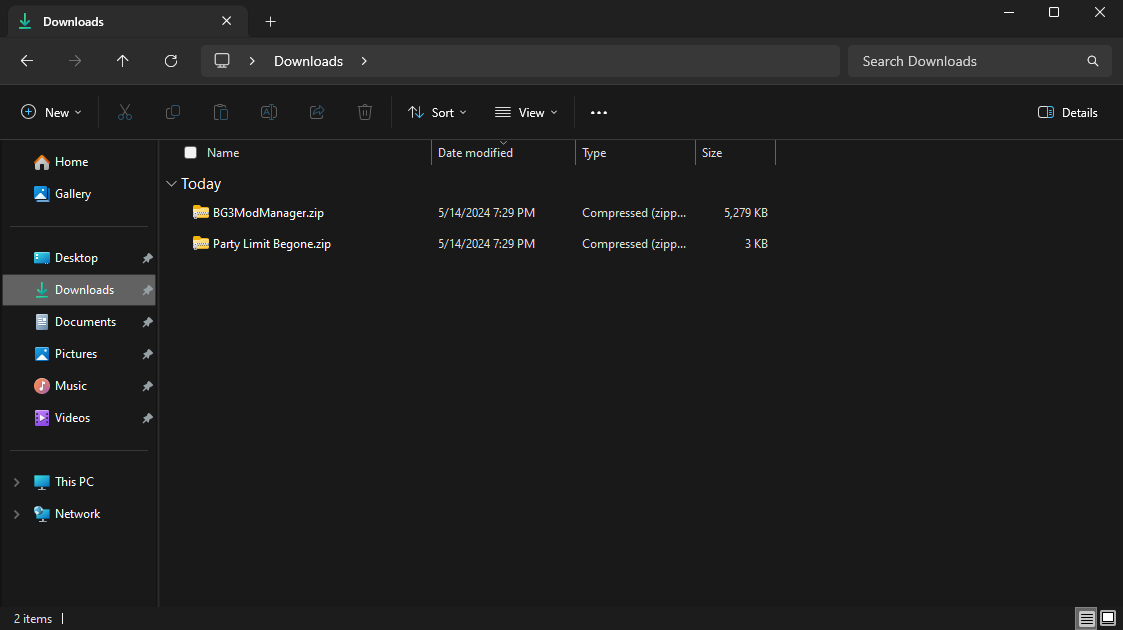
Step 2: After downloading the files, navigate to your download folder. This should be located here: |
|
|
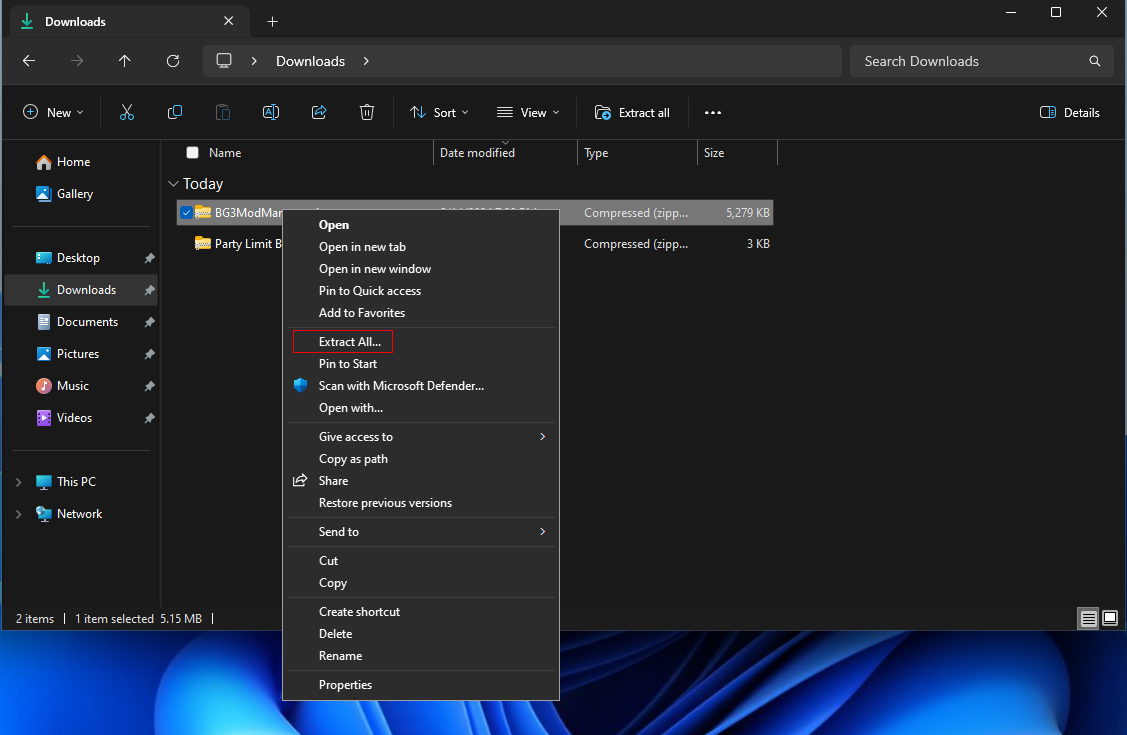
Step 3: Right click on BG3ModManager.zip and choose Extract All... |
|
|
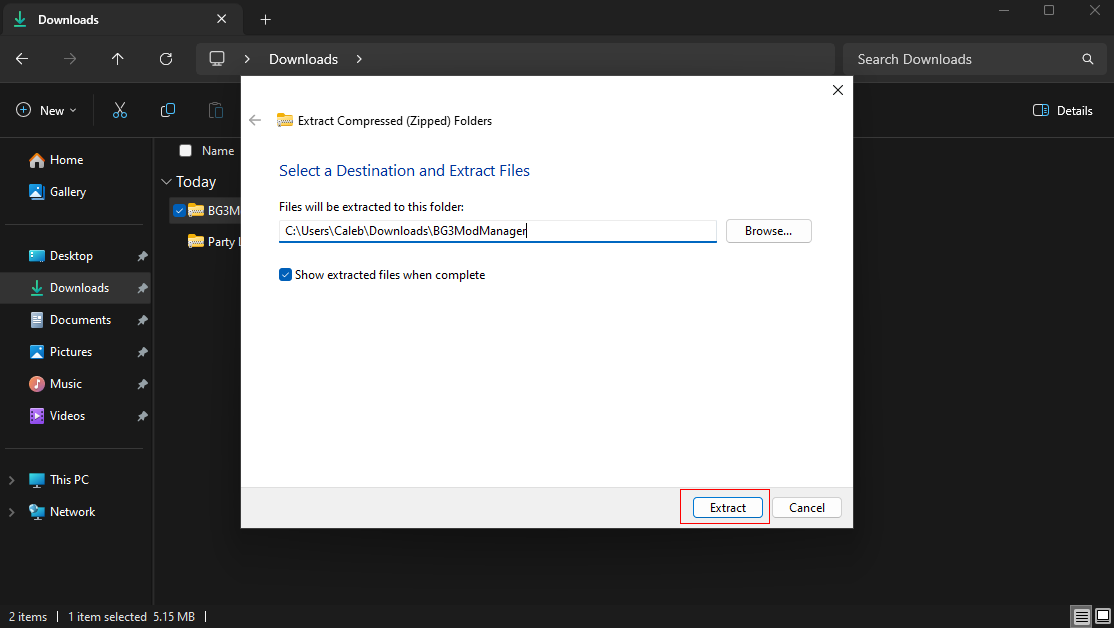
Step 4: Click on Extract and this will extract into your Downloads folder.
Note: You can change where it extracts by clicking on Browse... |
|
|
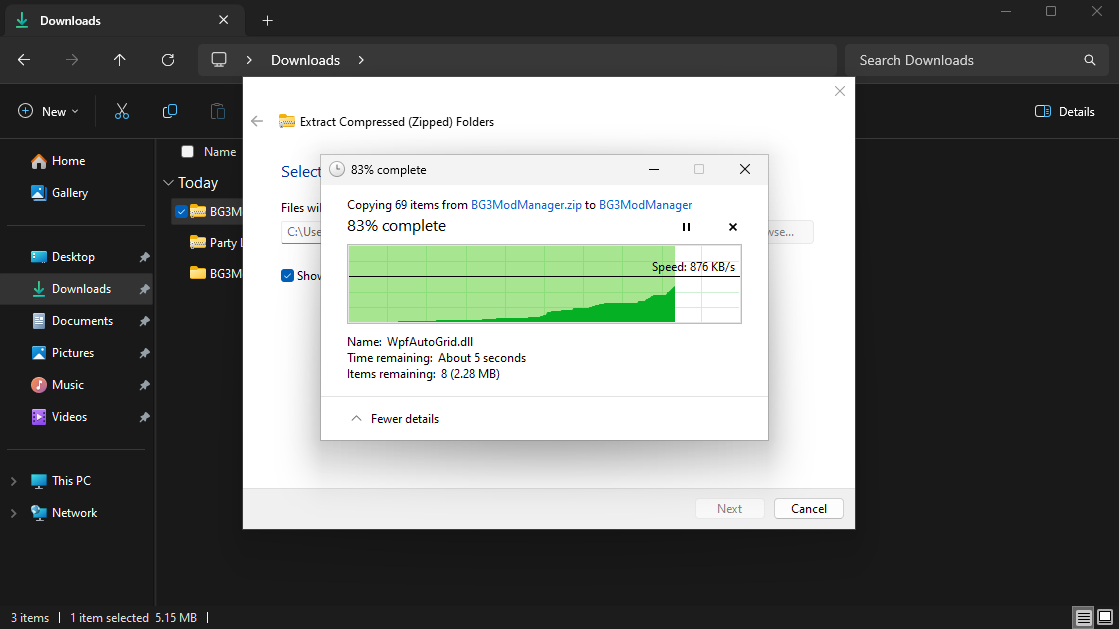
Step 5: Wait for the files to extract. |
|
|
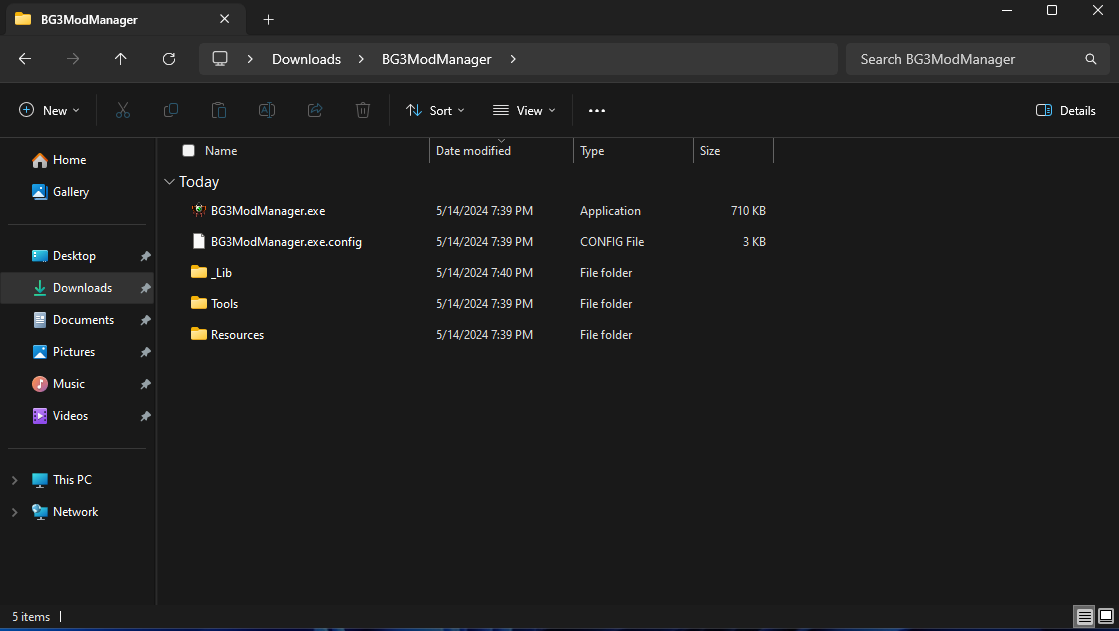
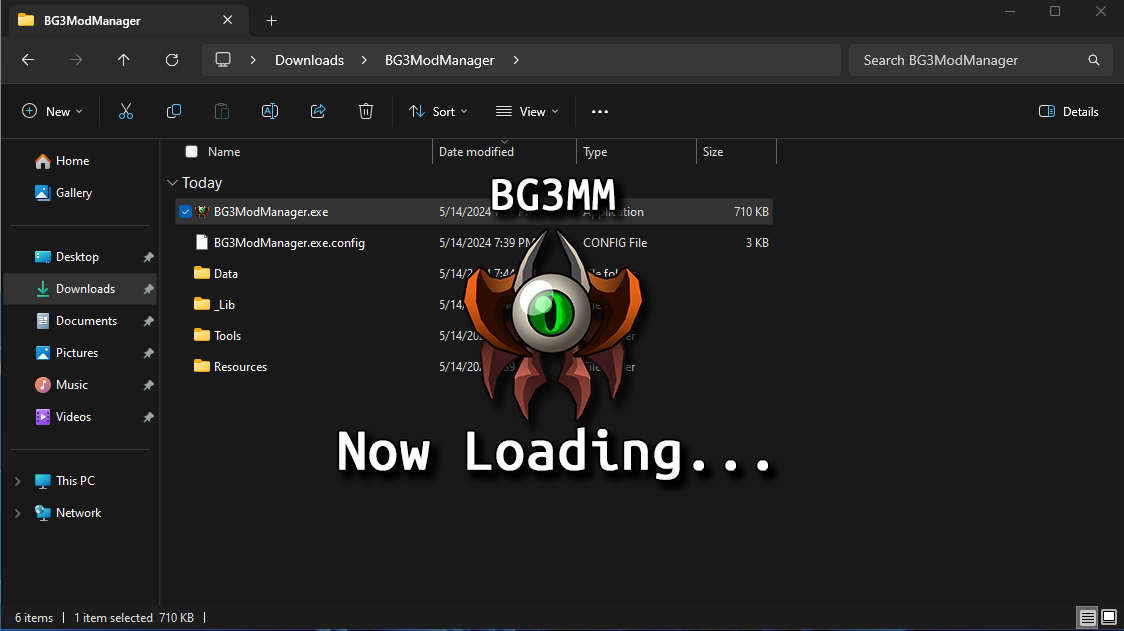
Step 6: You will now have the folder for BG3ModManager open up. |
|
|
Step 7: Right-click on BG3ModManager.exe and Run as administrator. |
|
|
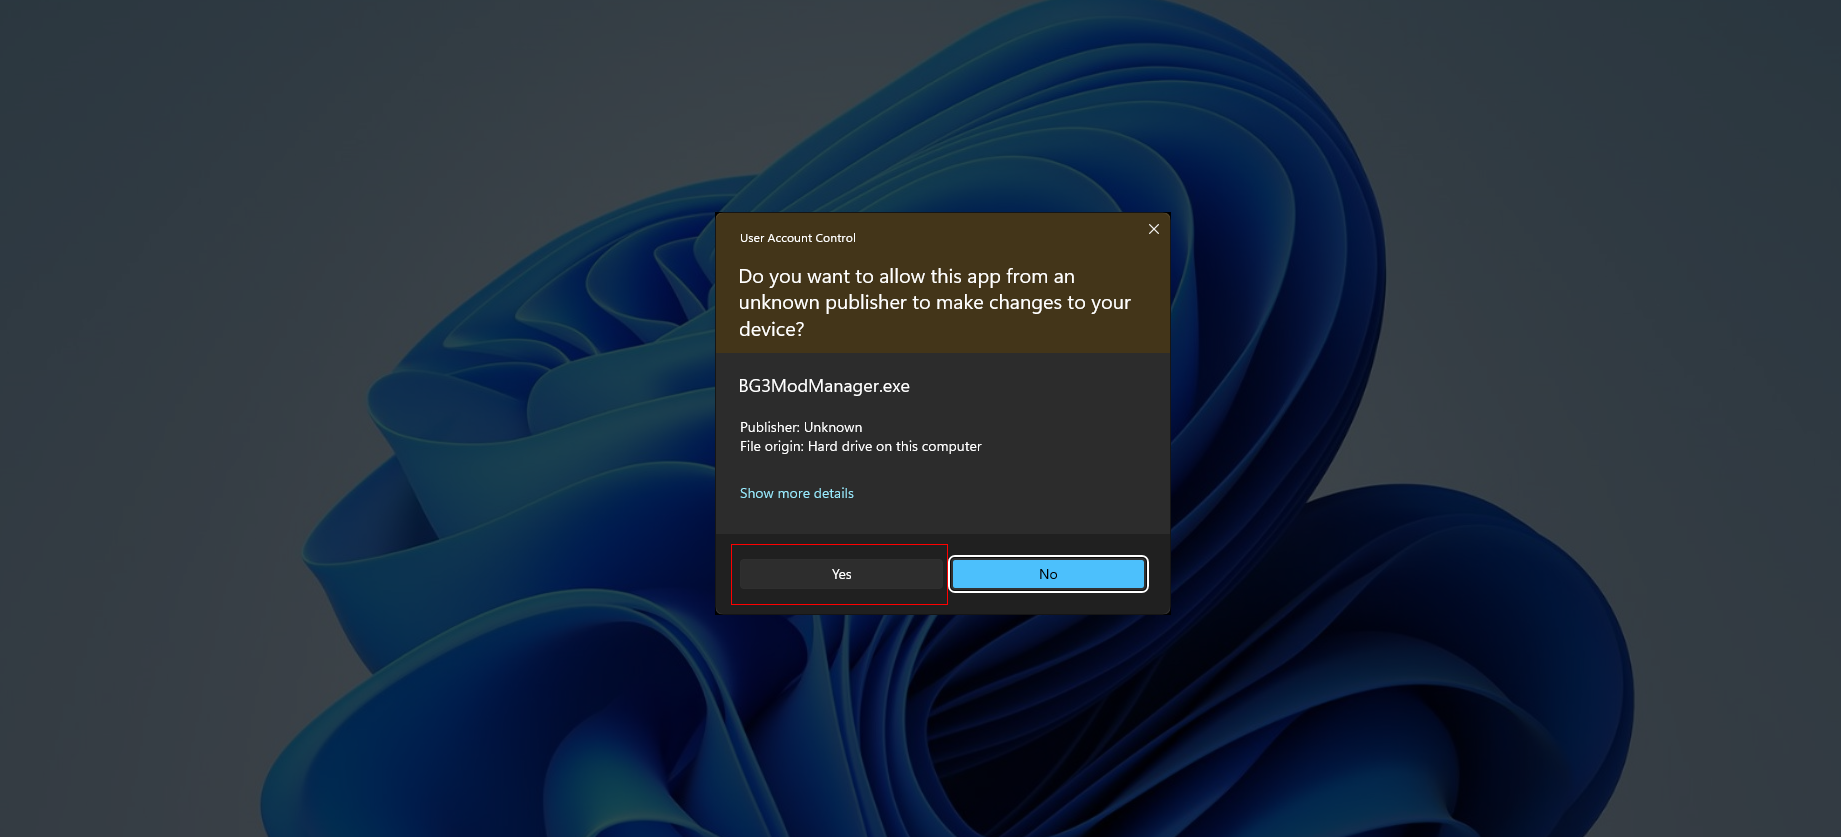
Step 8: You will get a User Account Control prompt. Accept it by clicking on Yes. |
|
|
Step 9: The game should detect the path to the game folder for Steam. |
|
|
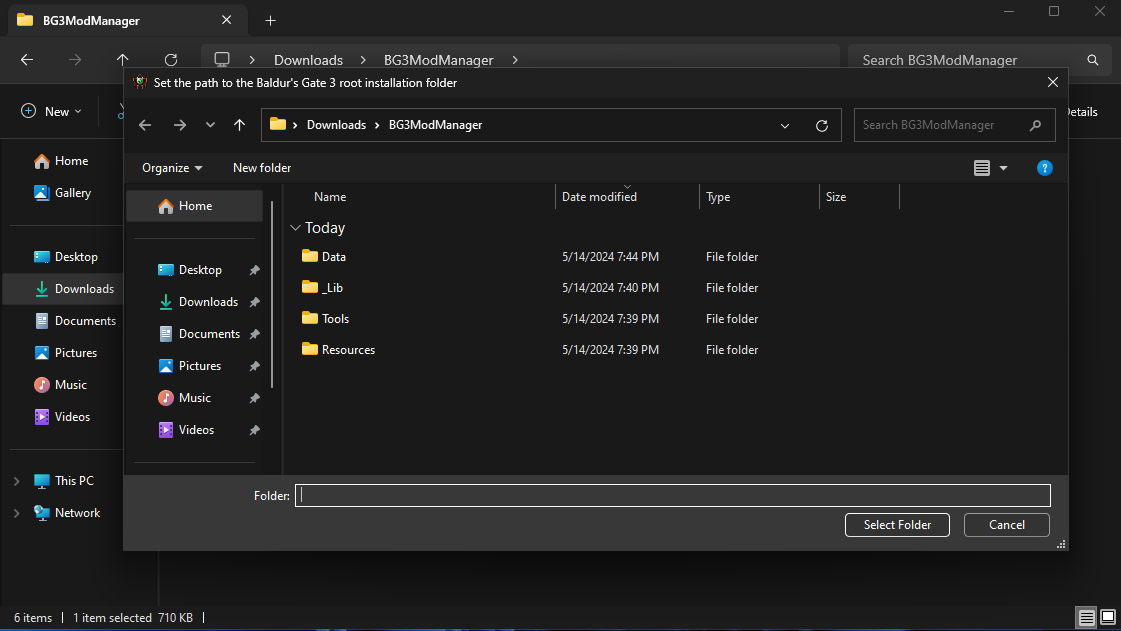
Step 10: If the game does not detect the path to the game folder and pops up with this, navigate to your Steam games directory. |
|
|
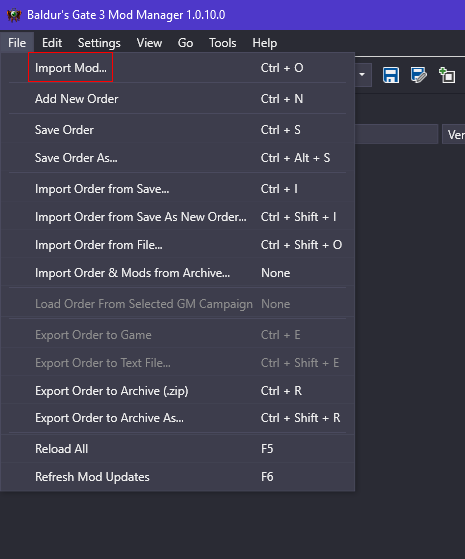
Step 11: Now we are going to import the Party Limit Begone Mod. Click on File > Import Mod... |
|
|
|
|
|
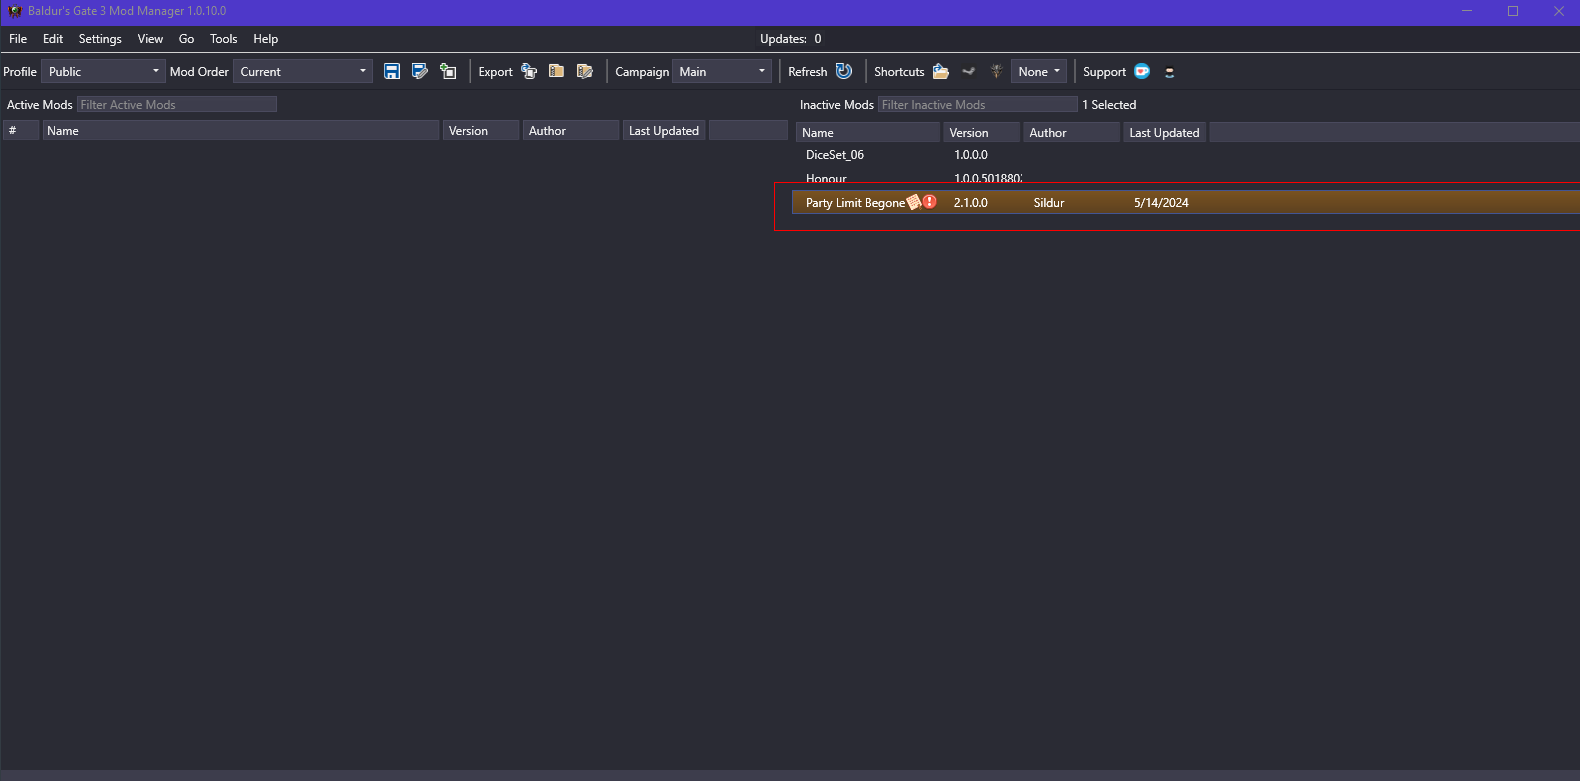
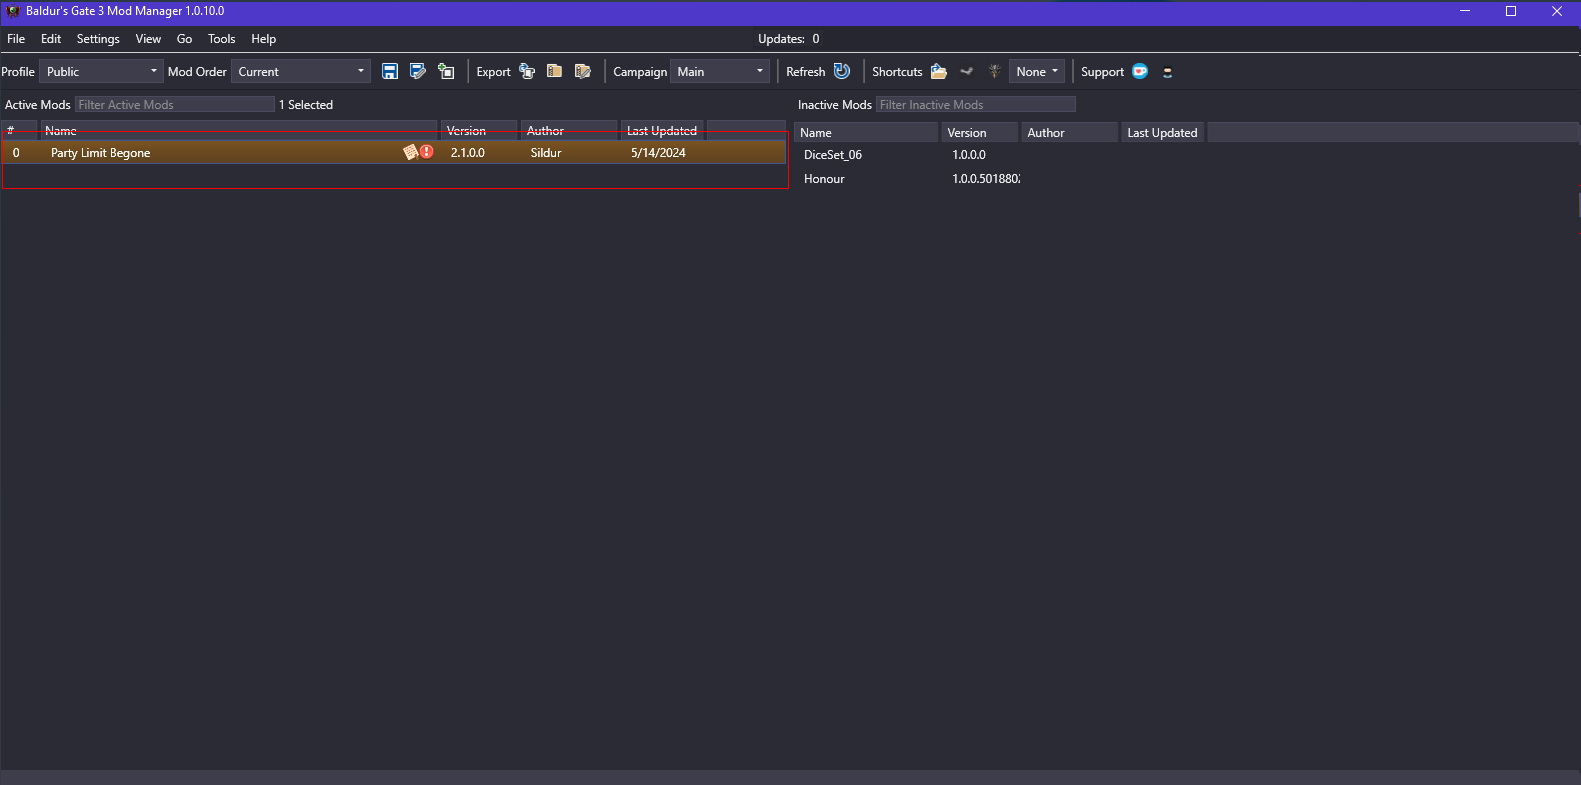
Step 13: Once it is done importing, confirm it imported by checking here: |
|
|
Step 14: If it is on the right of the Mod Manager window, drag it to the left so it is in the Active Mods list. |
|
|
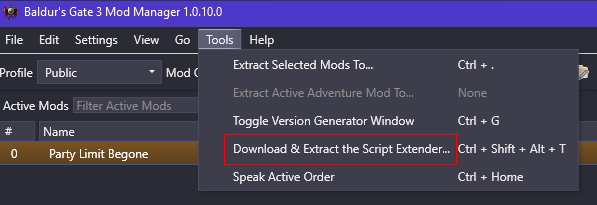
Step 15: Next click on Tools > Download & Extract the Script Extender... |
|
|
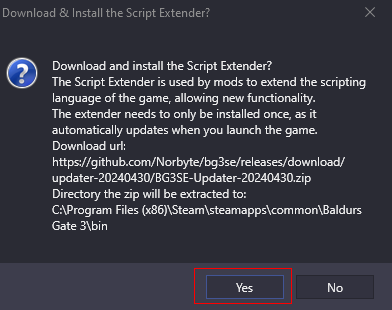
Step 16: Confirm installing the Script Extender by clicking on Yes here. |
|
|
Step 17: You should get this message at the bottom left of the Mod Manager window to confirm the successful installation of Script Extender. |
|
|
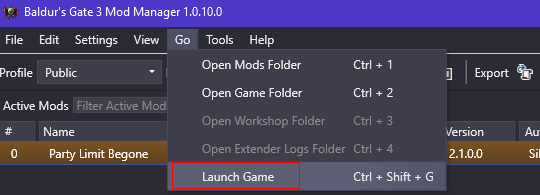
Step 18: After this, test launching the game by clicking on Go > Launch Game |
|
|
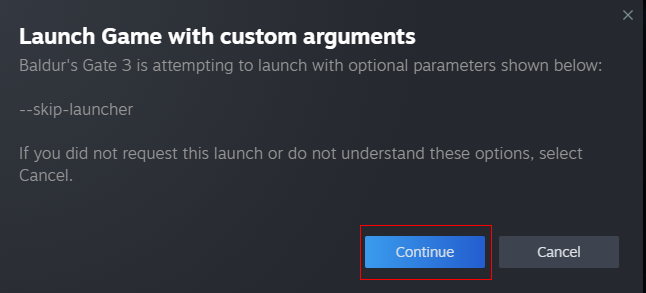
Step 19: If you get this redirect popup to Steam, make sure to click Continue. |
|
|
Step 20: Hopefully it worked, if not, I might have to help you troubleshoot, lol. |
|


How to Turn off Mouse Acceleration - Marvel Rivals Guide
| How to Turn off Mouse Acceleration - Marvel Rivals Guide |
|
|
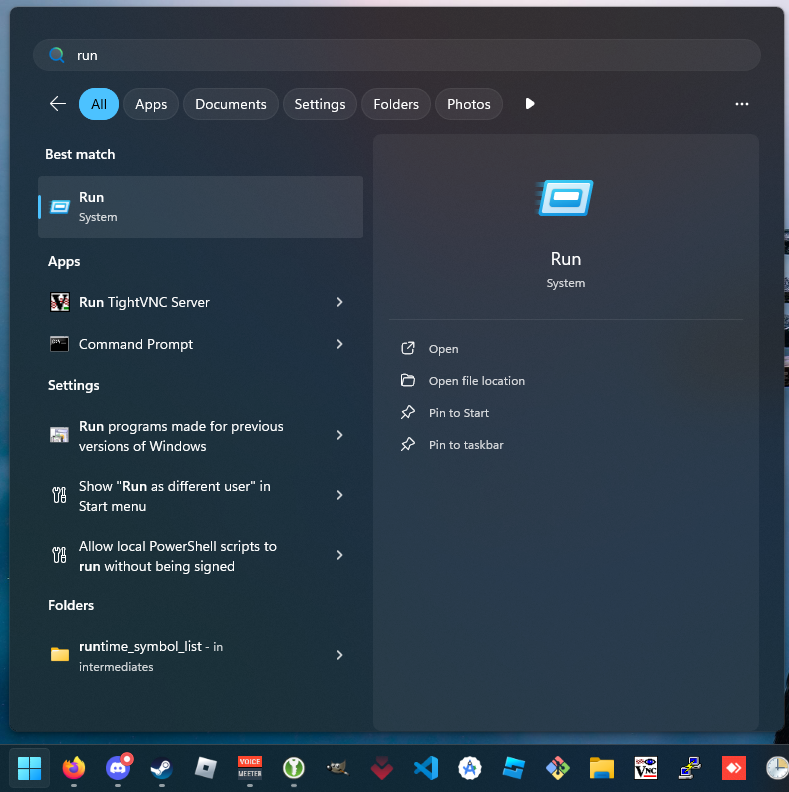
Step 1: Tap the Windows Key on your keyboard and type in run. Open it. |
|
|
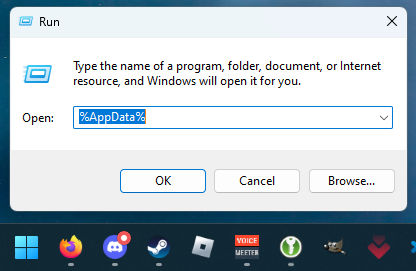
Step 2: Type in %AppData% |
|
|
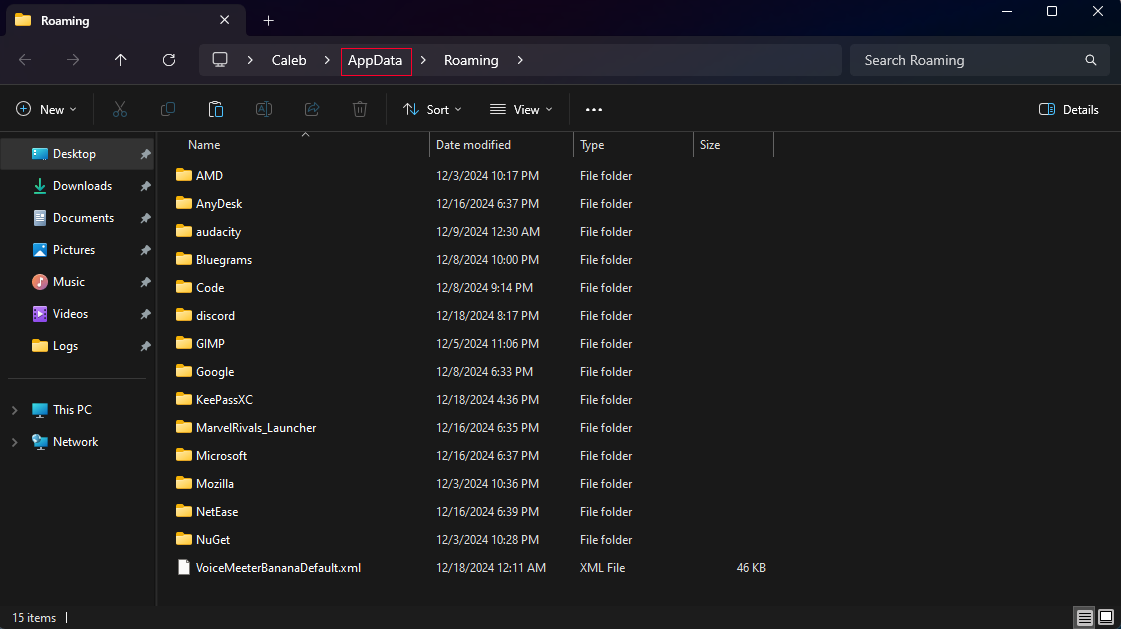
Step 3: Navigate back a folder by clicking on AppData. |
|
|
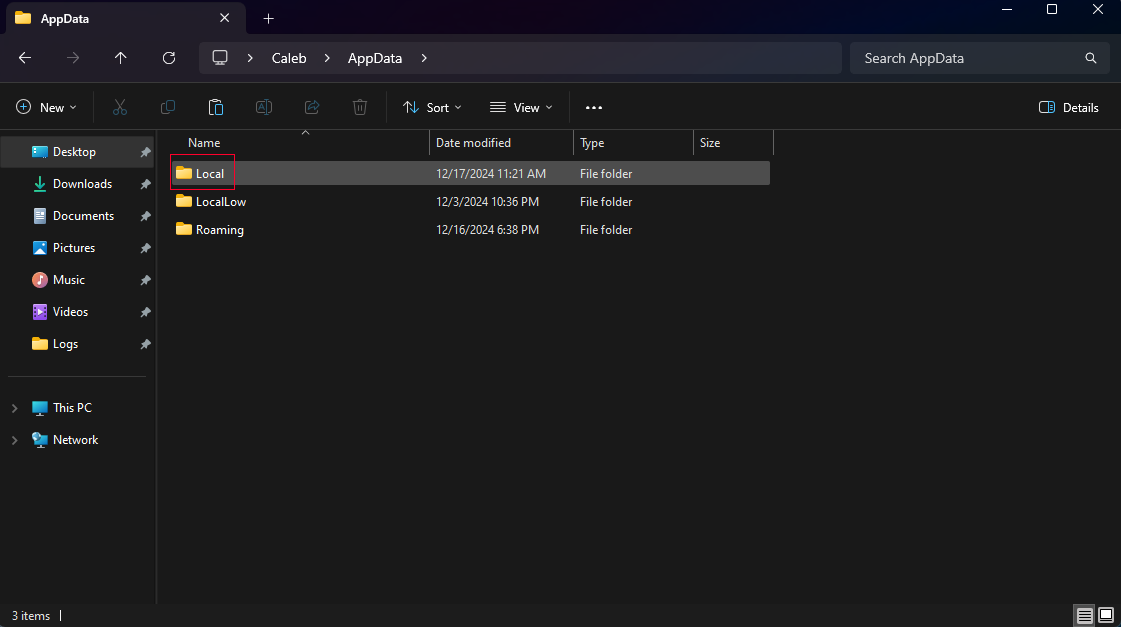
Step 4: Click on the Local folder. |
|
|
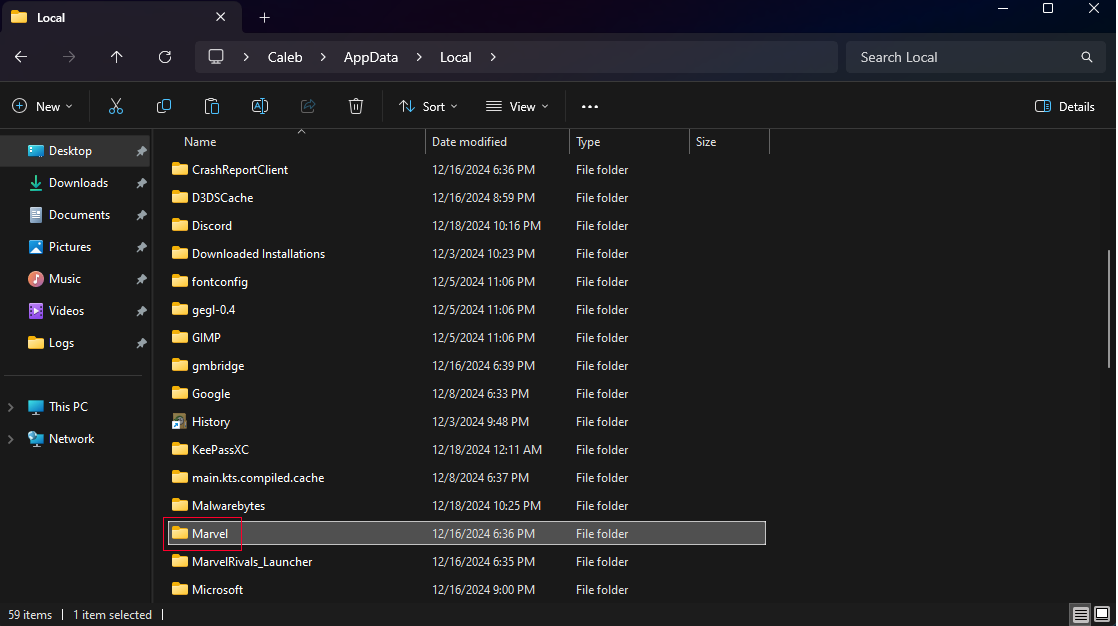
Step 5: Scroll down and click on the Marvel folder. |
|
|
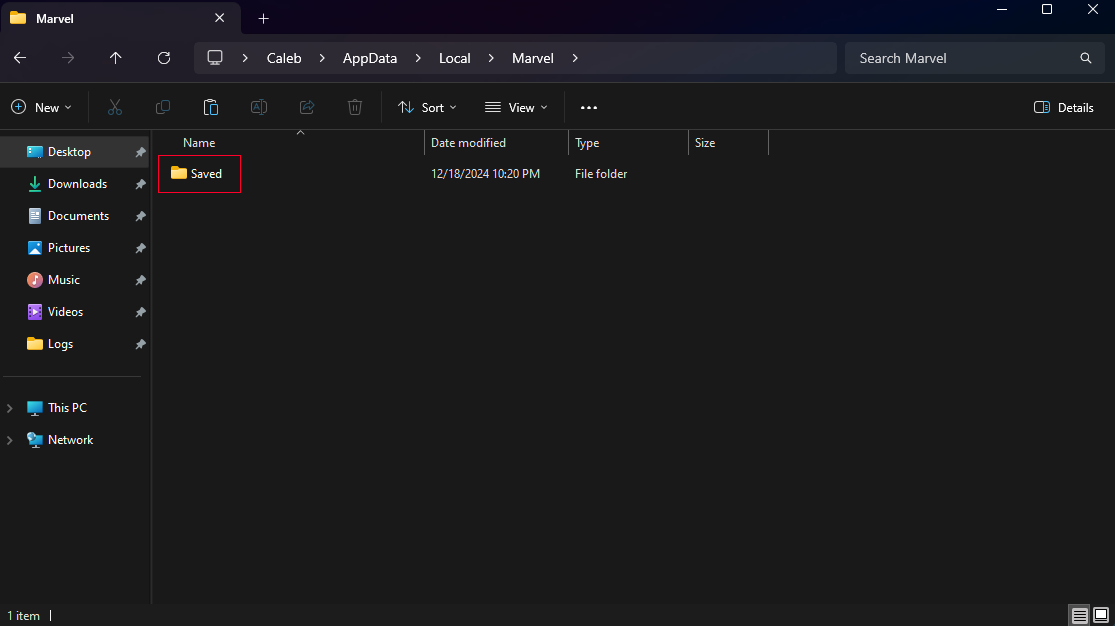
Step 6: Click on the Saved folder. |
|
|
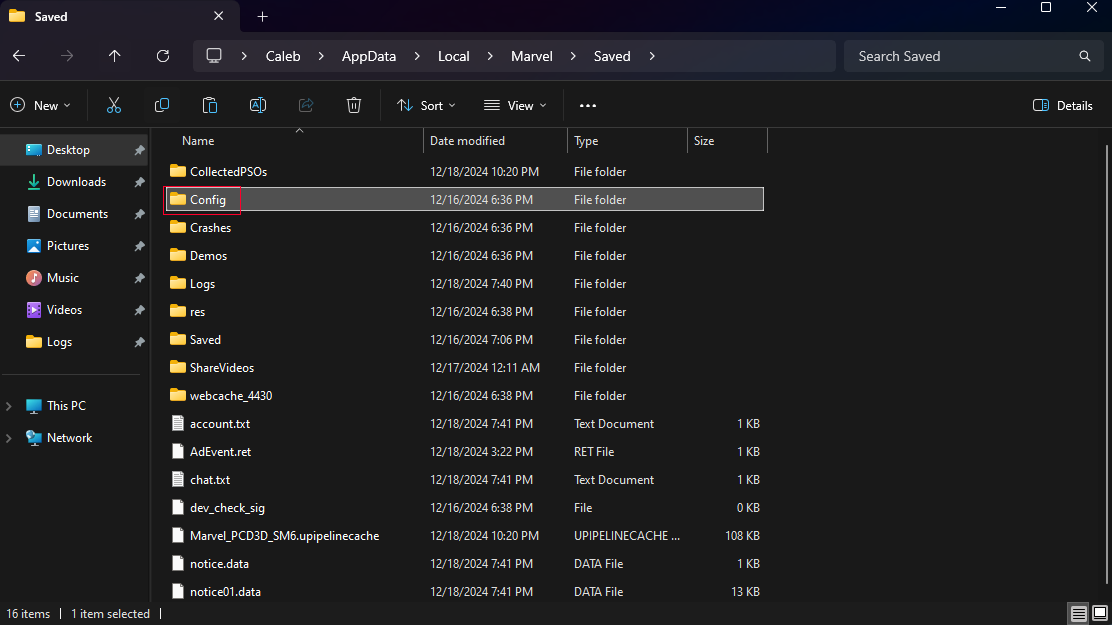
Step 7: Click on the Config folder. |
|
|
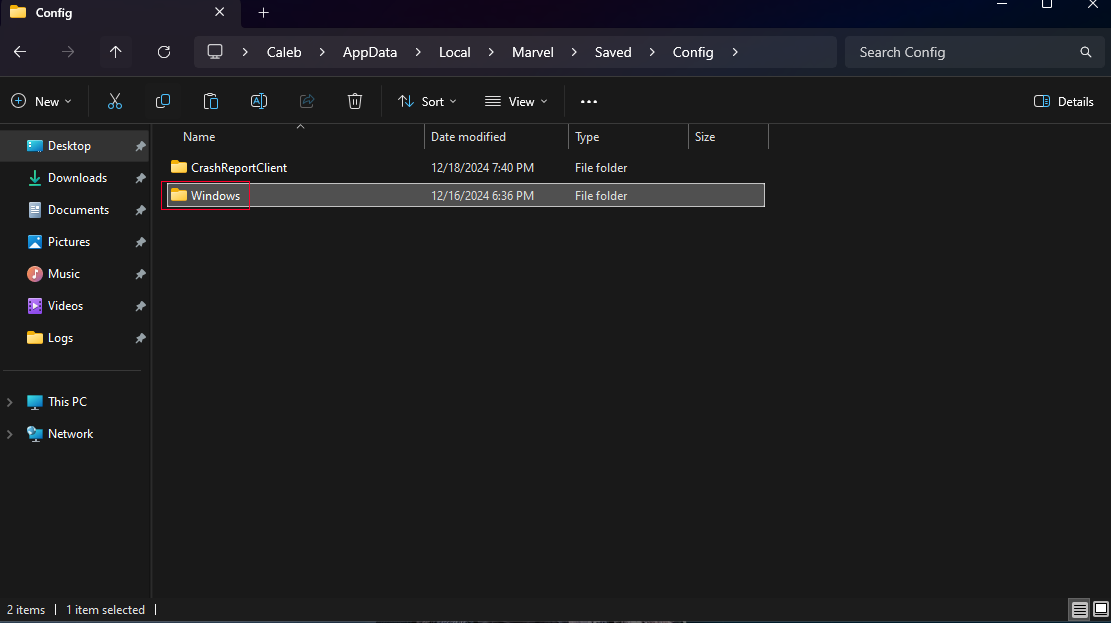
Step 8: Click on the Windows folder. |
|
|
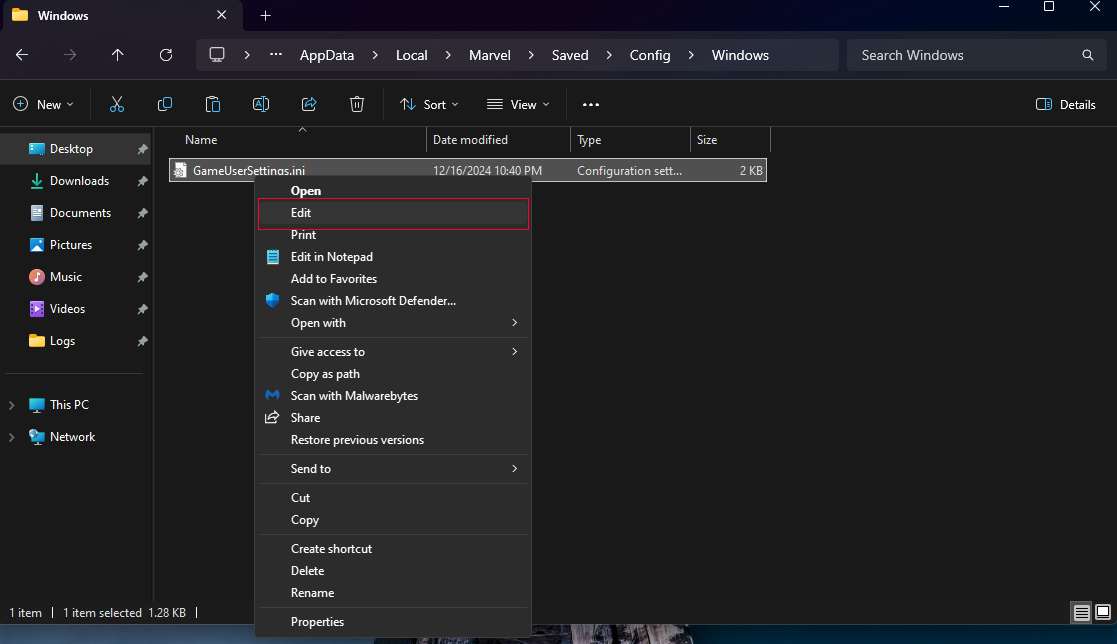
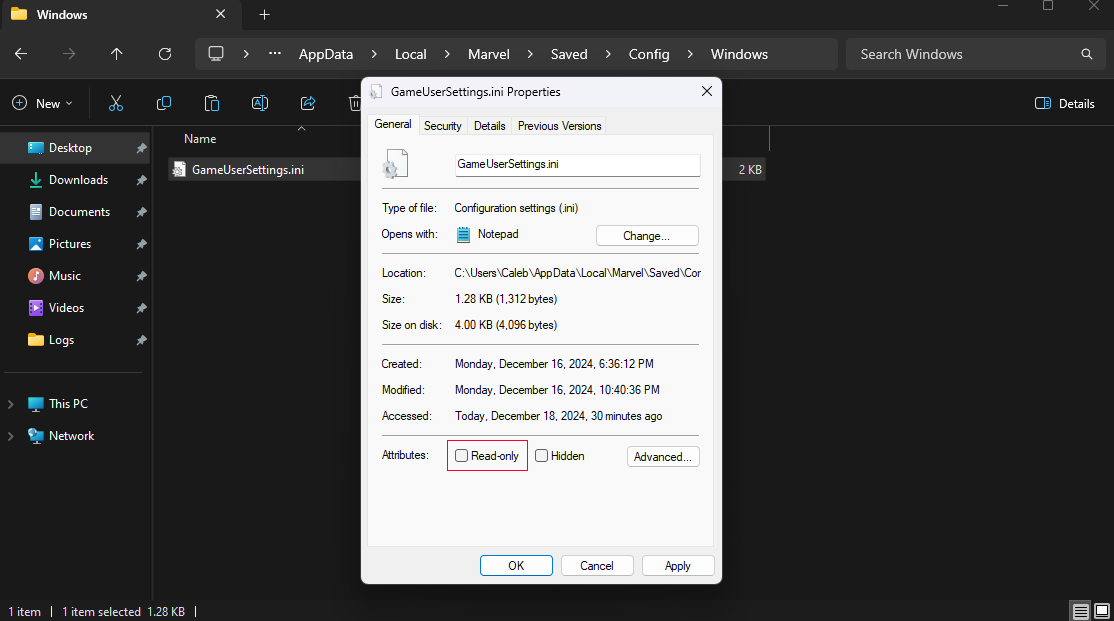
Step 9: Right click the GameUserSettings.ini file and click on Edit. |
|
|
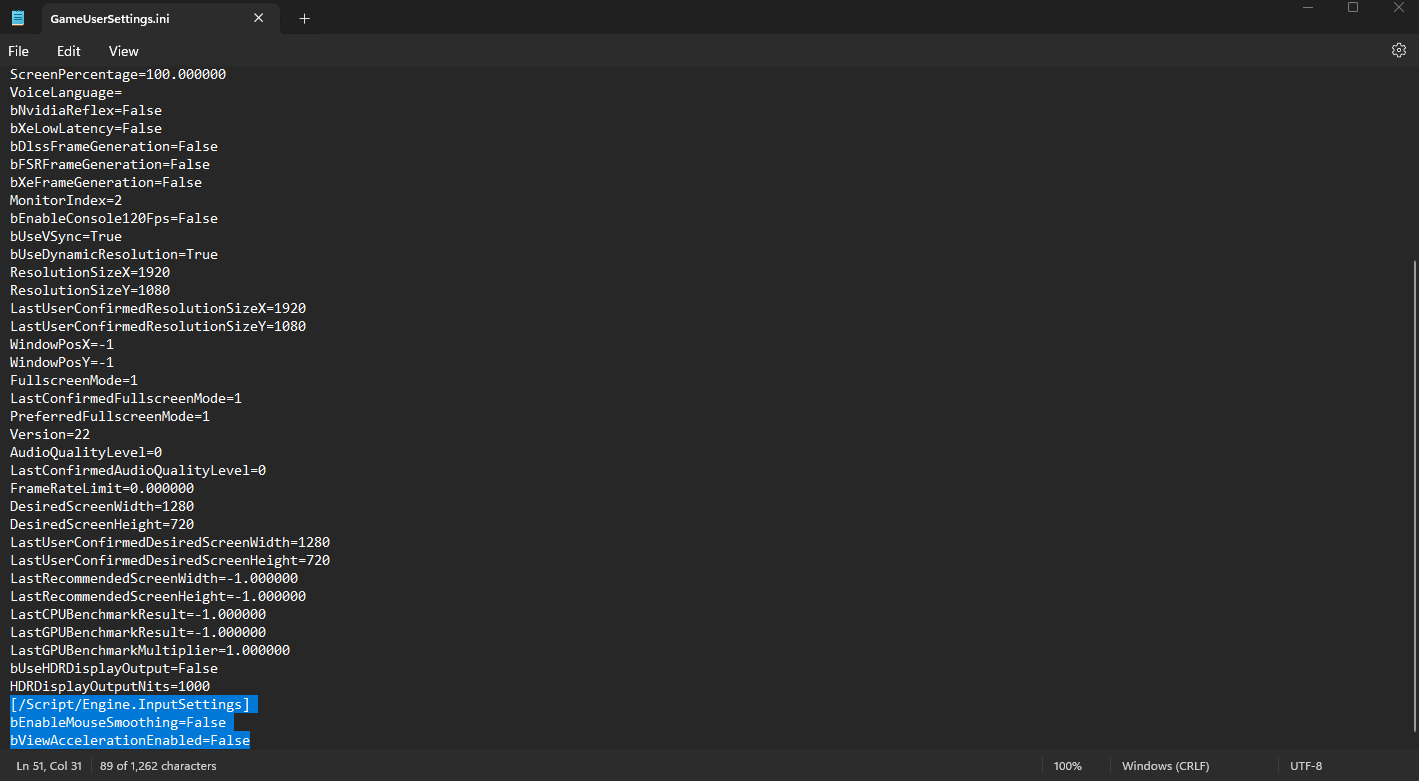
Step 10: Scroll to the bottom of the config file and copy and paste the following text:
[/Script/Engine.InputSettings] |
|
|
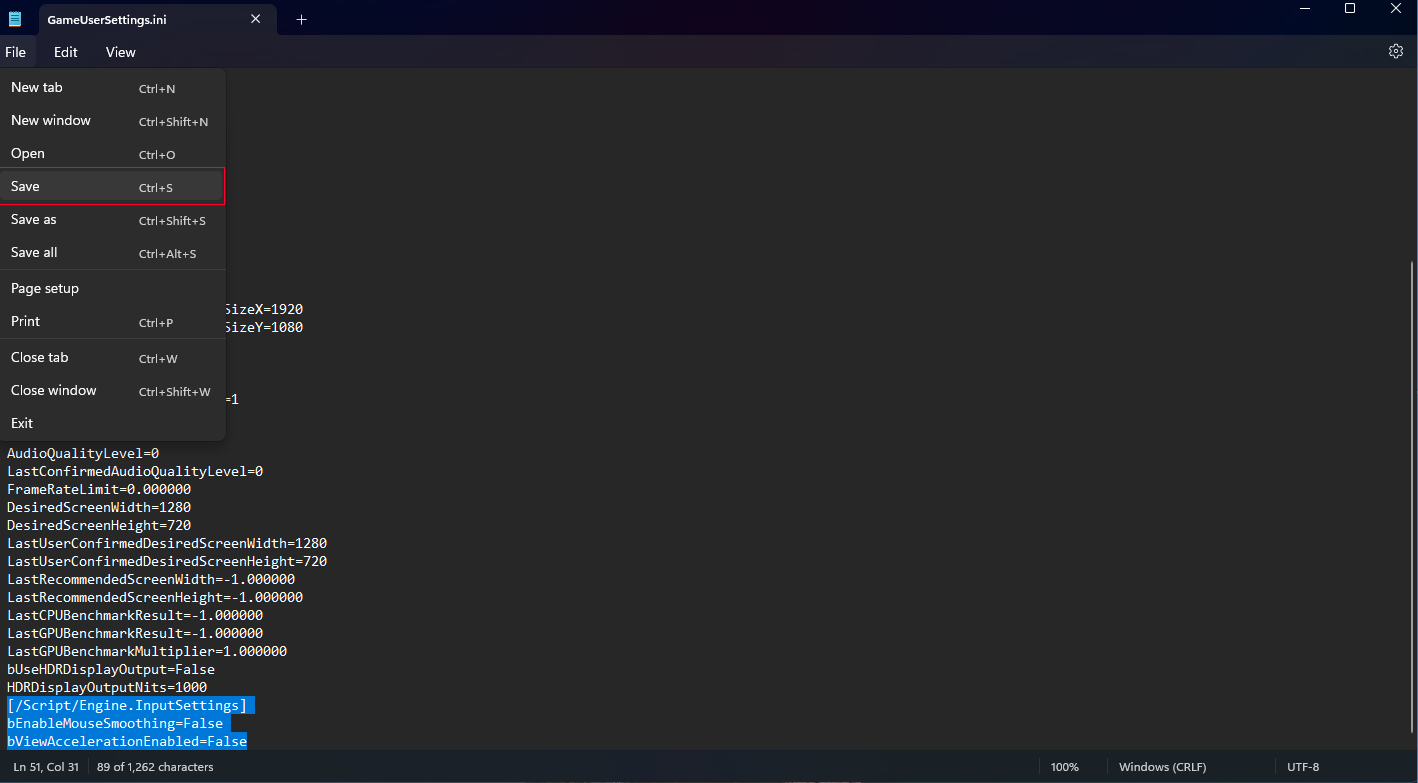
Step 11: Save the config file and close the Notepad window. |
|
|
|
|
|
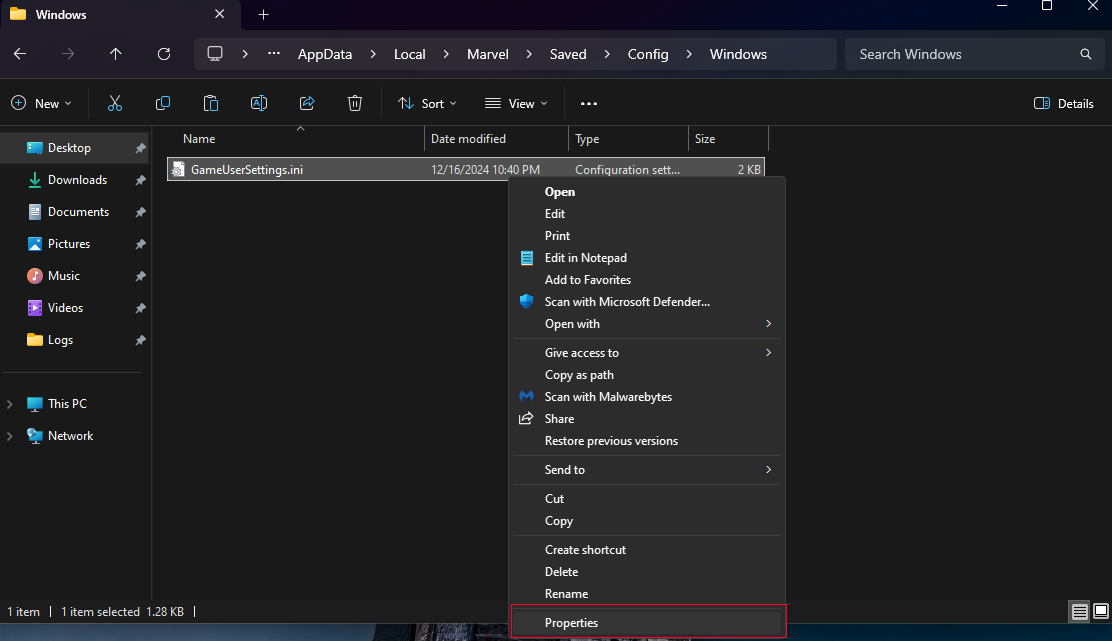
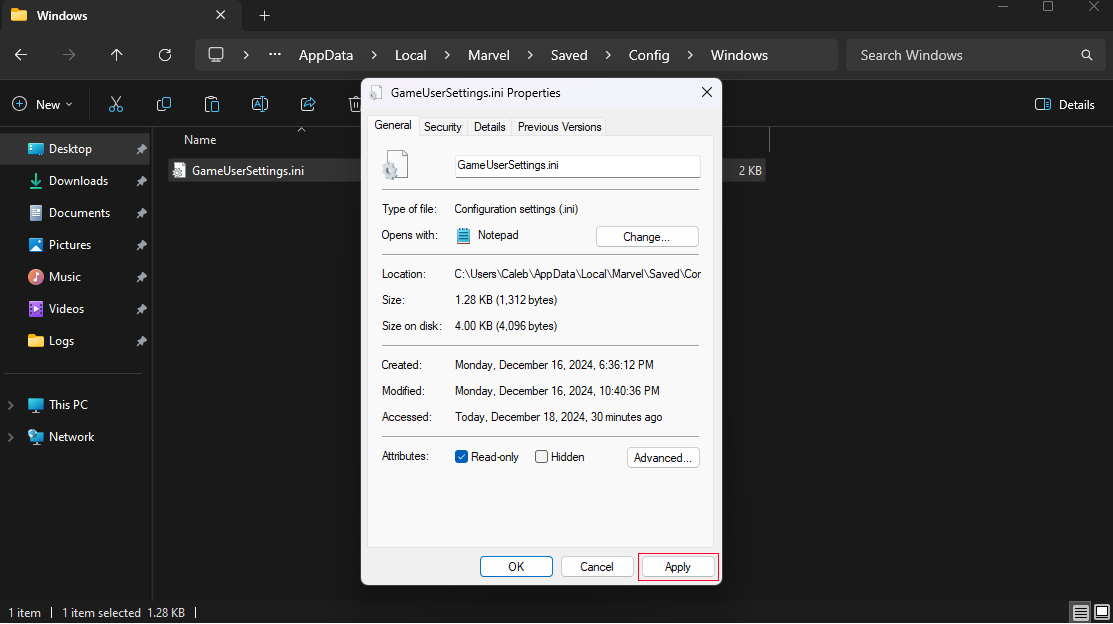
Step 13: Turn on the "Read-only" attribute at the bottom of the popup. |
|
|
Step 14: Now click on Apply in the bottom right side and click OK. |
|
|
Step 15: That's it! You are done and ready to play the game! The reason why you make it read-only is so Marvel Rivals dev's don't undo what you just did! :) |
|